When you’re taking a pet painting reference photo you’ll need to consider some things that may not be considered for normal photographs. Paintings bring a certain je ne sais quoi towhat would normally be considered an average image. The brushstrokes and energy bring out an element of depth and mystique that photographs do not typically capture. Often turning what might seem to be an unassuming image into a beautiful painting.
In this post I’ll explain what makes a great pet painting reference photo so that you can get the best results back from the artist you commission.
What You Want to Do
Taking a good painting reference photo of your pet is not too difficult. The only things you’ll need are a camera, your pet and some time to implement these tips. Keep it simple and focus on the quality of the photograph.
Use Natural Light
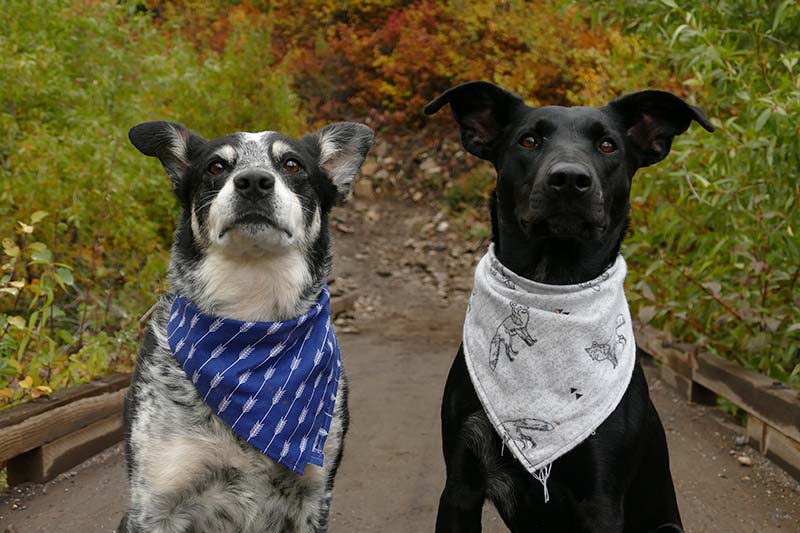
When taking photos outdoors, natural light from cloudy days will yield the best results. In the case of bright sunny days, aim to take photos within a few hours of sunrise or sunset to capture the soft ambient light.
When taking photos indoors, take photos during the brightest time of day (anywhere from noon to 3pm) near windows. You’ll want to choose a room that is brightly illuminated. Sheer window coverings can also help diffuse any direct sunlight.
In both instances you’ll want to position your pet so the light is facing them. Your pet’s face is the most important focal point so it’s important it’s not in shadow.
Get on Your Pet’s Level (And Get Close!)
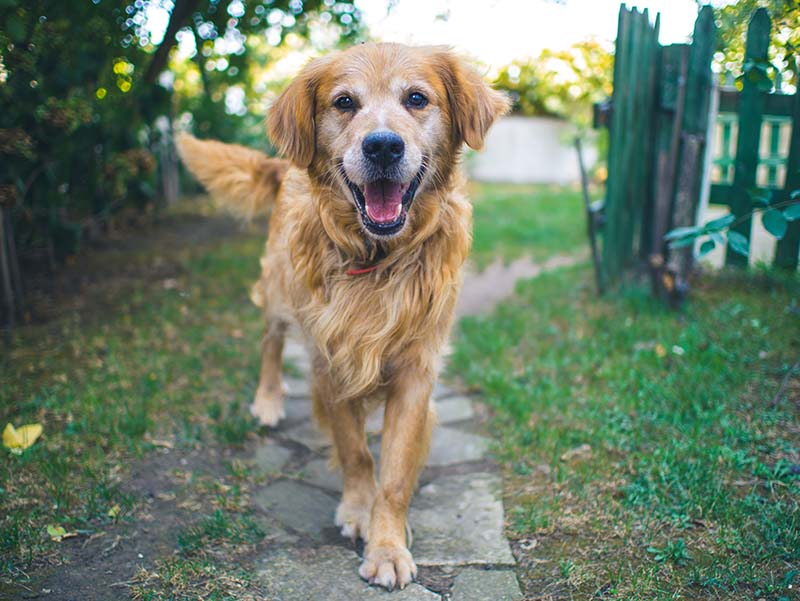
Experiment with taking photos while kneeling or laying down. Capturing a photo at eye level with your pet results in a more natural and intimate photo. The goal is to find the best angle to capture your pet’s personality.
Focus on What Matters
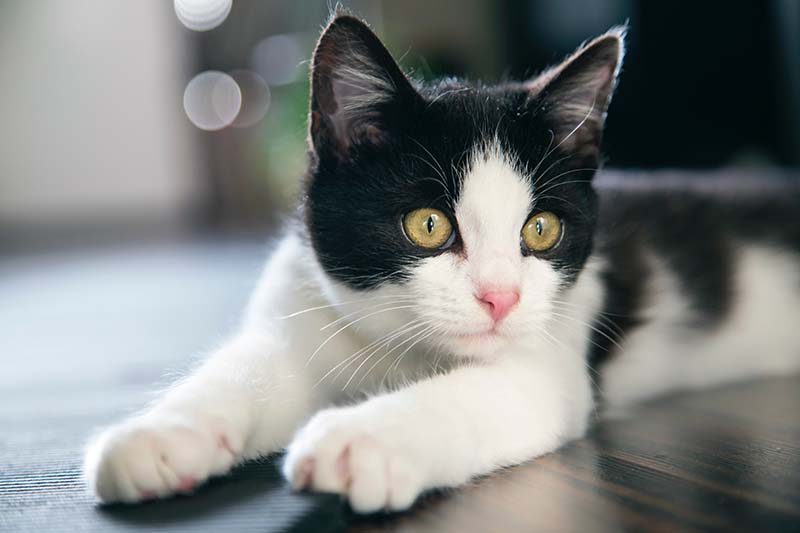
When using a smartphone to take photos you’ll want to manually focus the camera on your pet’s face by using the touch focus feature. Your screen will indicate what the camera is focusing on with a circle or a square on the screen. You’ll need to use this frequently throughout your photo session to ensure the face stays in focus.
What You Want to Avoid Doing
There are three things you should not do to ensure you get the best reference photo. These tips are specifically for getting a better painting. Following the previous tips will make the tips below easier to adopt.
Do Not Use Flash
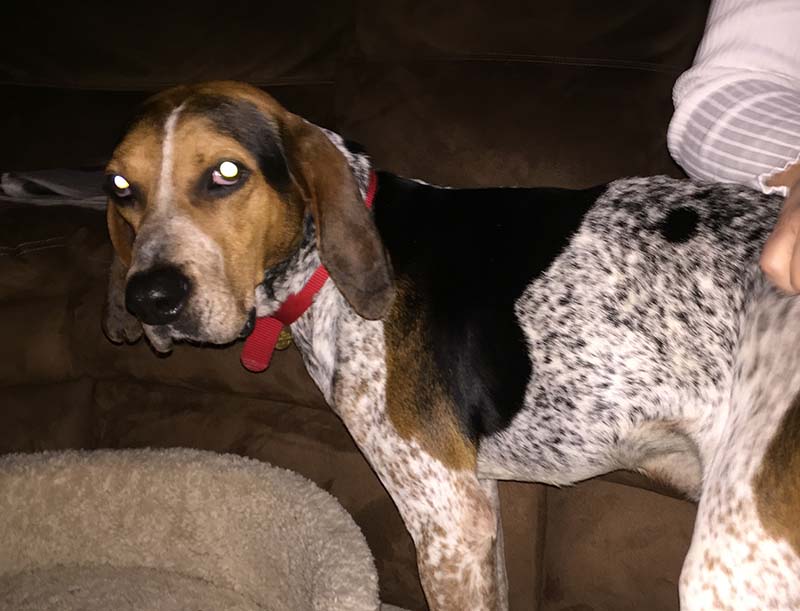
If you follow the tip above about using natural indirect light, flash will not be necessary. Flash tends to wash out the entire photo with a veil of white light. Not only will this flatten your image, you’ll also get the glowing eye effect on your pet.
Do Not Use Zoom
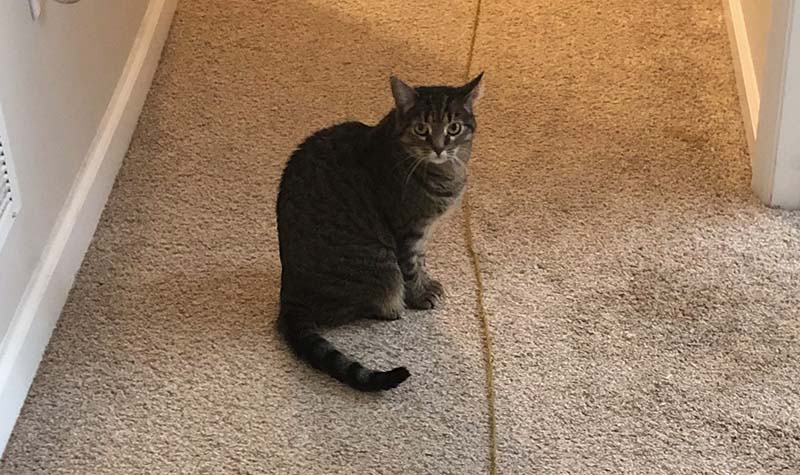
Digital zooming distorts the image by cropping them rather than magnifying them. This leads to pixilation, blurriness, and sometimes odd colors. Instead of using zoom try moving closer to your pet.
Do Not Edit (Or Use Filters)
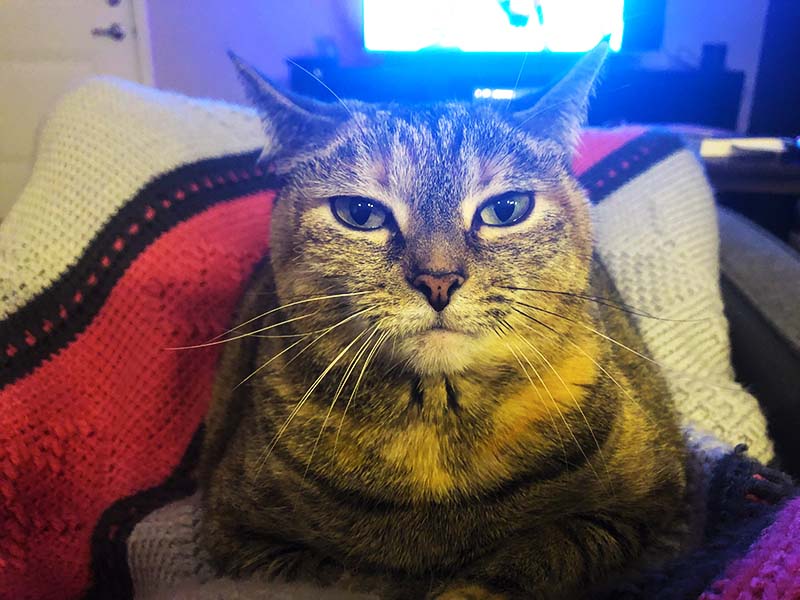
A lot of times photo filters push the colors into a range that isn’t possible to match with paints. They also tend to darken the shadows and blow out whites which eliminates a lot of detail. Raw, unedited photographs make better paintings.
Your Pet Portrait Awaits!
Now that you know how to take an amazing pet portrait reference photo there’s nothing stopping you from having the best pet photoshoots of your life! Hopefully the results will be so good that you can’t wait to submit one or two for a brand new pet portrait commission ?
Regardless of what you use this guide for, I hope you found it helpful. If there are still a few grey areas I’m happy to clarify. Just drop me a question in the comments section below and I’ll answer as soon as I’m able.
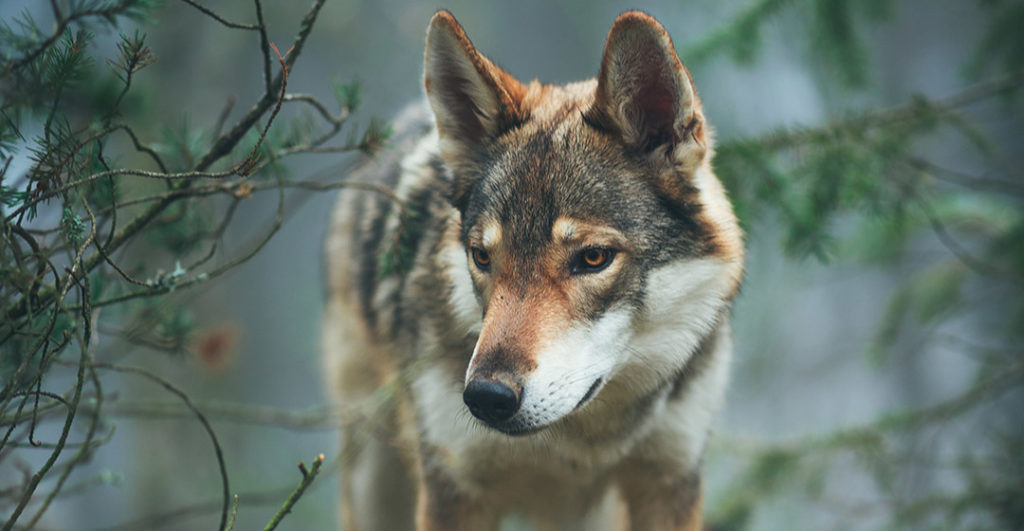
Featured image by Tahoe Beetschen on Unsplash

0 Comments