

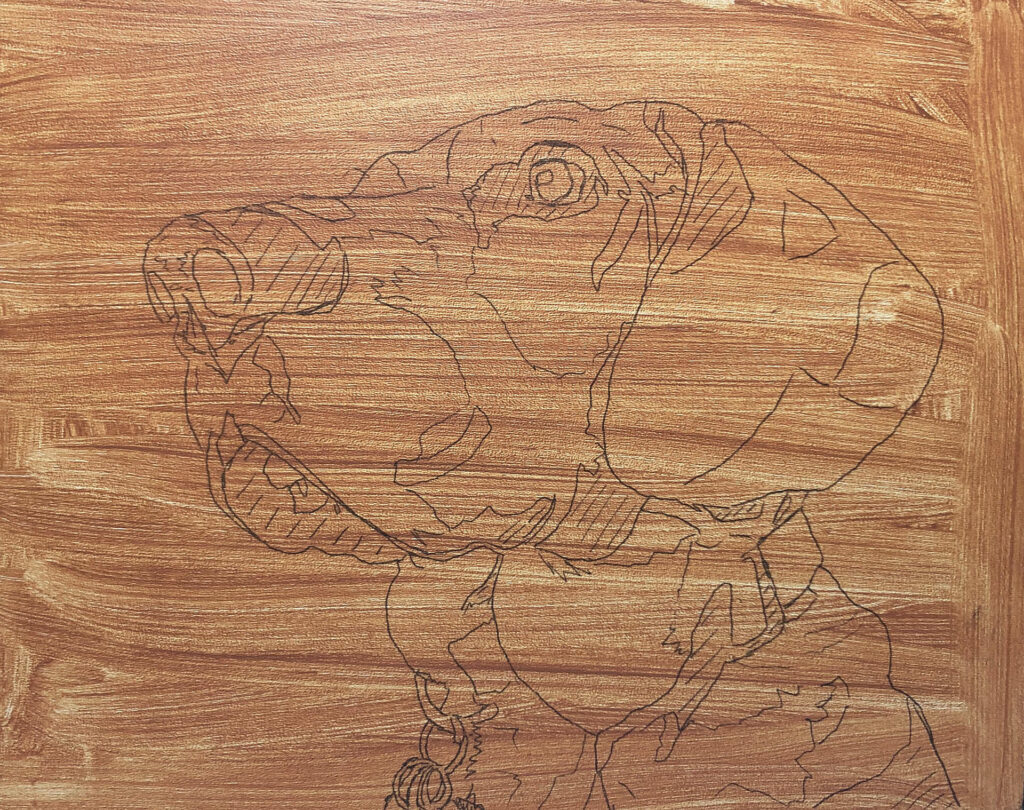
When I paint I like to plan it out so I know the overall direction–even the end result–before I get started. If I ever get stuck I can refer to my original notes and blaze a clear path forward. Occasionally, I’ll let the process be more open-ended and let the painting find itself along the way. Both processes have their advantages and disadvantages. With Watson’s painting, the process happened to fall somewhere in-between. The result was a well thought-out painting with moments of spontaneity.
The Time-Lapse Process Video
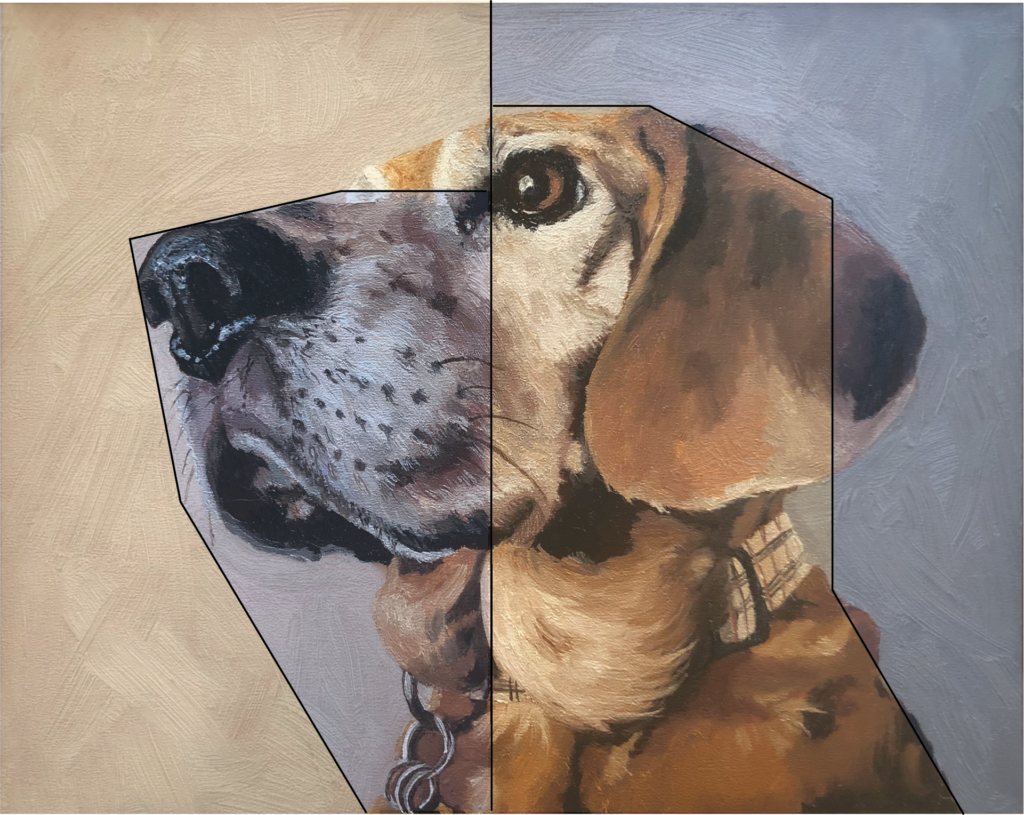
Progress Photos
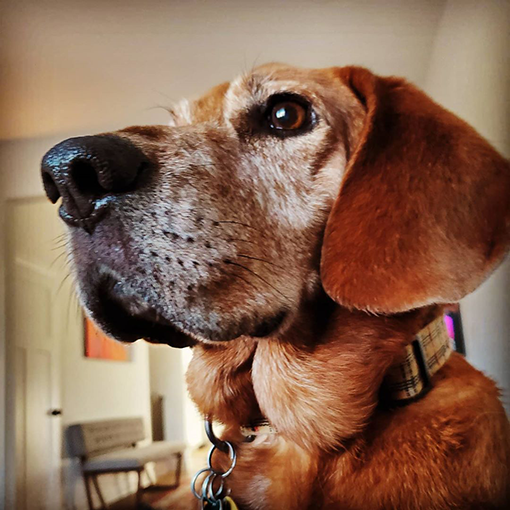
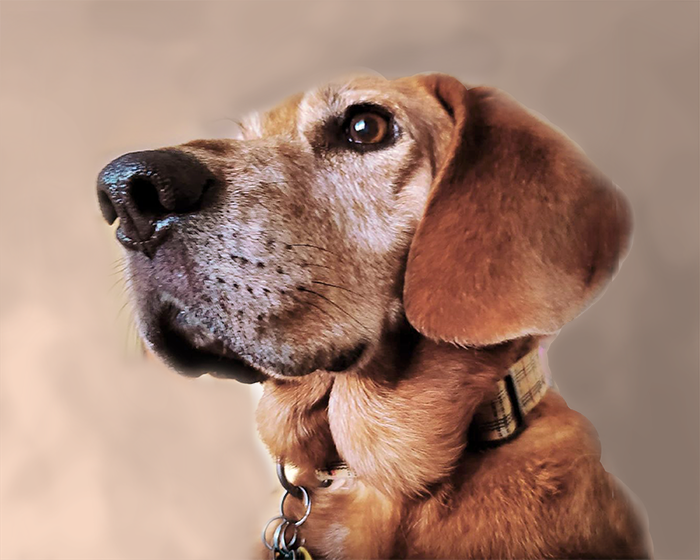
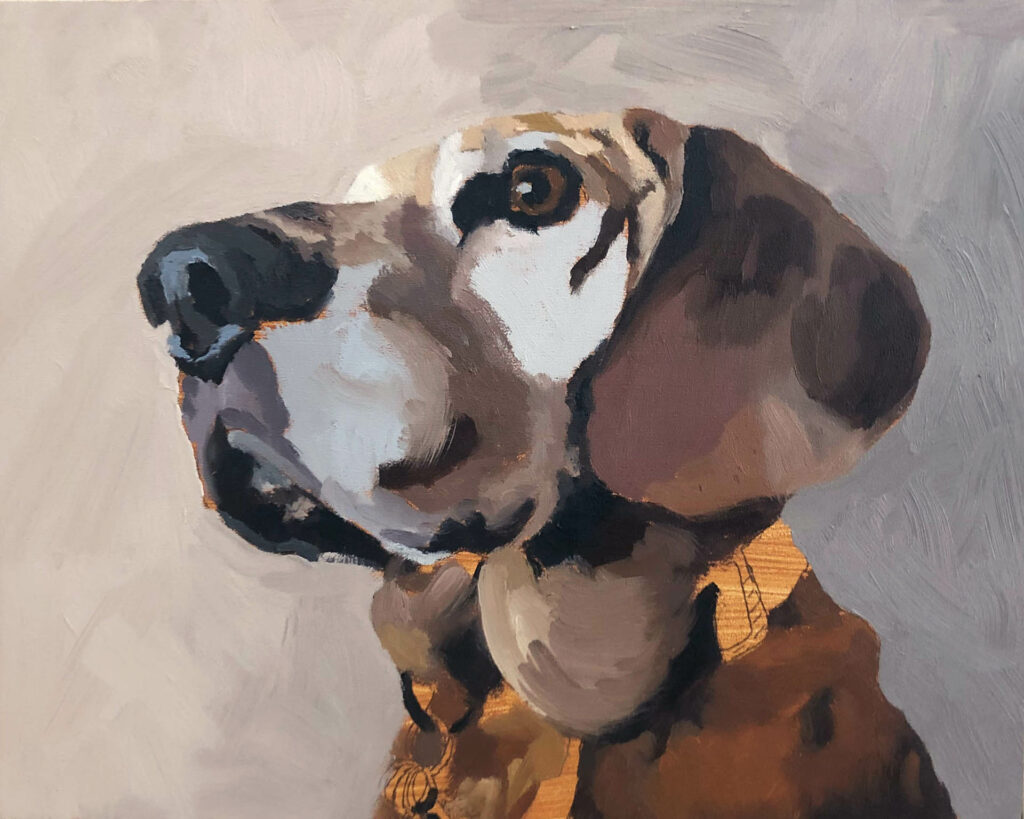
Below is the original picture provided to me. It was from Instagram so it was square and had a filter applied. Not a problem. Here’s what I did in the planning process to provide direction for the painting.
- Added space to either side so it would fit an 8×10 rectangle panel.
- Completed the missing part of the ear.
- Softened the colors to be more compatible with oil paints.
- Added a formal gradient background of matching tones. (This is important for later)
Painting Process
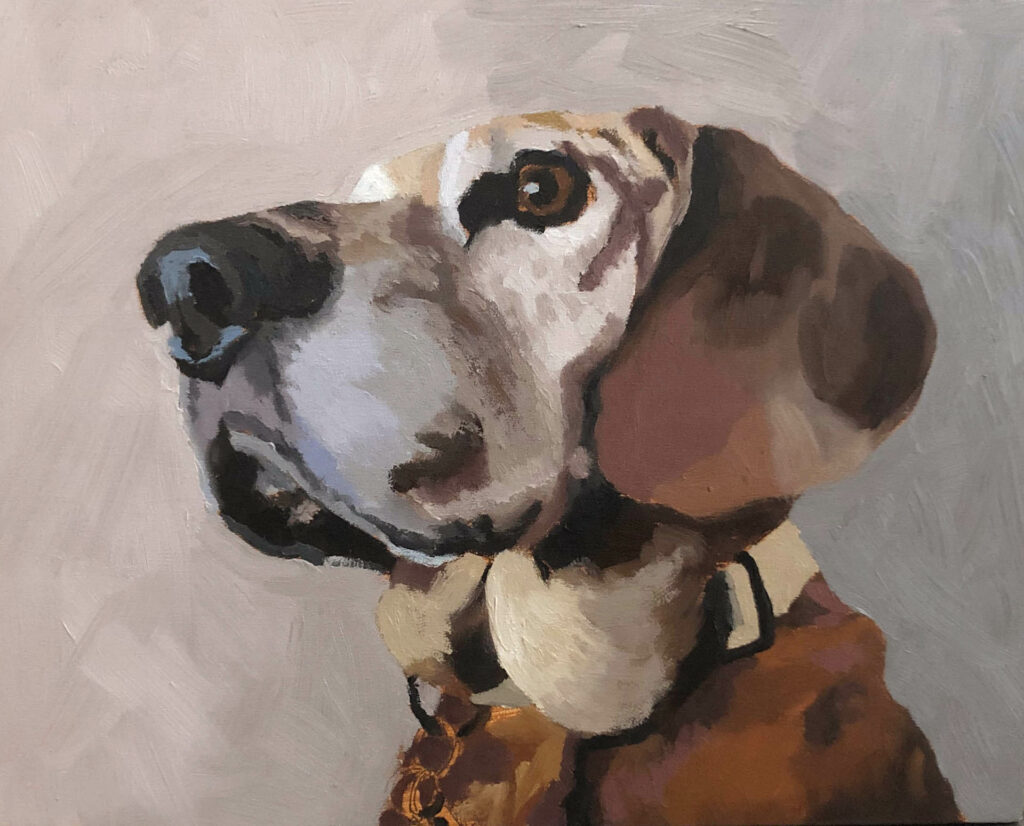
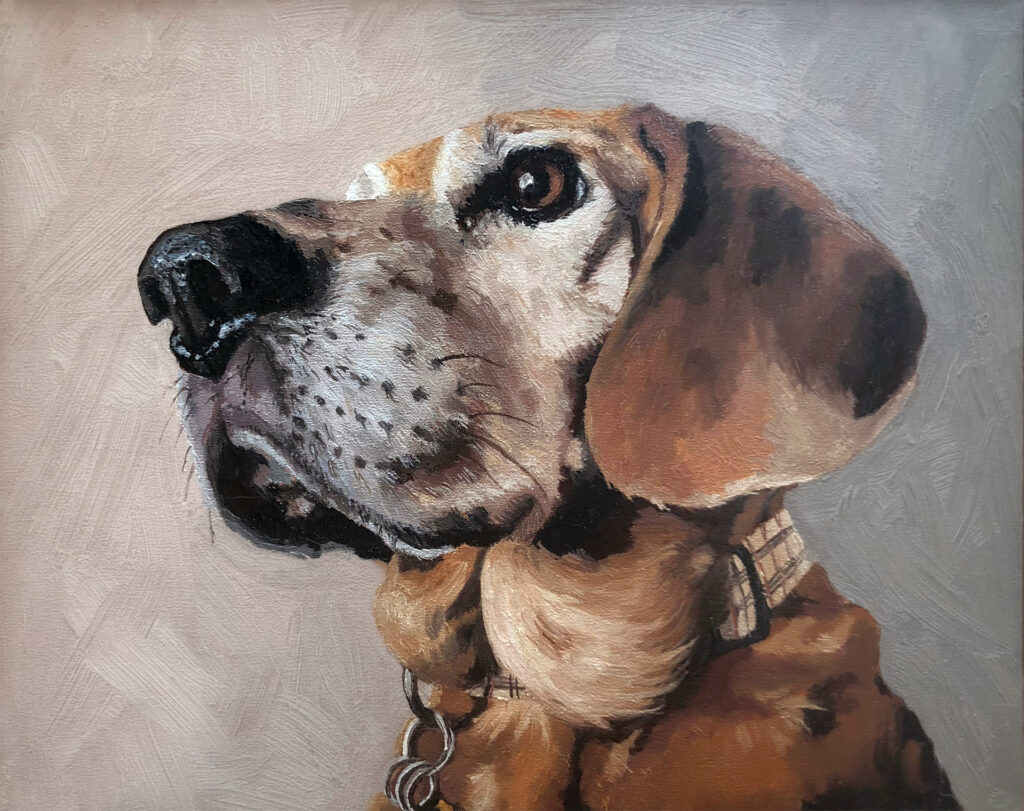
I’d like to draw attention to the background because it is a key element in why this painting feels so balanced. The simplest way to explain is that there’s an alternating pattern of warm tones and cool tones. It is subtle and I’ll show you what to look for so it becomes more apparent.
The background is warmer on the left and cooler on the right. It’s almost split down the middle in that regard. On the body Watson’s nose and muzzle are cool while his ear and lower body are warm. So what we get looking from from left to right is: warm, cool, warm, cool.
Warm, Cool, Warm, Cool Do you see it in the final painting?
This is super cool and isn’t something I had planned. Digital renditions only go so far and colors change when you print them out. It wasn’t until after I painted in the background that this pattern presented itself. If you watch the video this revelation is around the 25 second mark. It was working so well that I was able to accentuate it. In the photo above called “Additional Details” you can see a stroke of blue paint on Watson’s lip. Compare that to the almost neon orange fur on his ear and body.
Of course this isn’t the only reason why this painting works. It’s one element of many that made me excited. Especially because it was unintentional at first then later revealed itself as important to the visual harmony. It was rewarding to be able to manifest it successfully.
Receiving their Painting
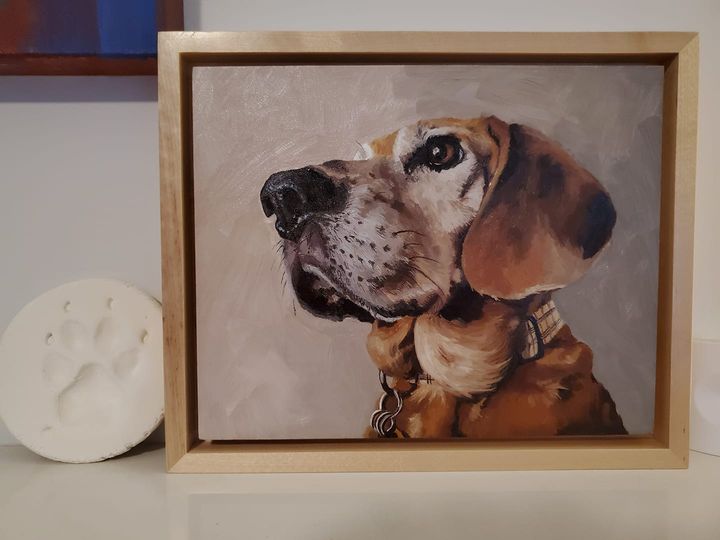
Watson’s painting was an in-memoriam piece. This was a painting to honor Watson’s life and capture how his family will remember him. The picture above is from Ben. He thoughtfully displays the painting next to Watson’s paw print.
I personally dropped off this painting to Ben but due to covid safety precautions the exchange was kept brief. Later we were on a call and he shared his happiness with the piece.
I can’t tell you how happy we are with this painting. All night we just stop and stare. We knew we were in good hands, but wow. Karla Norquist truly captured everything that was Watson. If you’ve ever thought about getting a portrait of your pet, do it. And commission Karla. She’s worth it.
Ben Iten
Want More Painting Progress Videos & Posts?
As I continue to practice, take new commissions, and even paint my own original work I plan to document as much of it as possible with new blog posts and videos. If you enjoyed this post I’d love to hear about it in the comments below, but just as importantly I hope you’ll subscribe to my YouTube Channel and join my Email Newsletter to keep up with new content and important updates from The Norquist Studio.
0 Comments